Fork Caps
Another Jim Lindemann based story:
Back in the day Jim’s first task was to get a fork or shock to work. There is no point to great valving if the oil can find another way to go. These forks had that problem. Jim had told me how he solved the problem but this was my first chance to do it myself. I have his old notes. There are 4 things you need to do differently from other forks. Two of them are small simple things. One is big and the 4th is just crazy. I did them one at a time so I could see what each did. This meant taking the fork apart four times but good science is worth it.
The photo is of the forks ready to go home because I forgot to take a photo sooner.
Seal Head
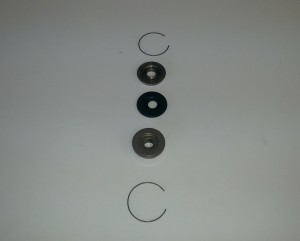
Check out this two part seal head from a Sachs shock. Notice the cir-clips that go above and below the head. Also the seal is one piece, combining the shaft seal and body seal rather than just having a shaft seal and an O-ring. Did you see the shaft bushing? No? That’s because there is none. This is not the best shock I’ve worked on.
A normal seal head is one piece with an O-ring between itself and the body and a O-ring, X-ring or seal for the shaft as well as a shaft bushing. You push the seal head into the shock body, install the clip and let the pressure hold the seal head against the clip.
To take a shock apart you just release the gas, push the seal head down and remove the clip then pull. But how do you push the seal head in if there is a clip bellow it? They must really not want me to rebuild this shock.
I took it apart but I could not bring myself to do something that dumb to put it back together. I made a normal seal head with bushing and held it in place with just one clip.
I had another reason for replacing the seal head. The American branch of Sachs does not even know what a motorcycle is. The American branch of the seal company does not import that seal and “Sir we would need 6 to 8 weeks to get it from Germany and there is a large minimum order.”
After this the re-valve was easy. Not! The piston/valve stack is as bad as the seal head but Jim taught me well and I fixed that too.
If someone tells you Sachs shocks can’t be rebuilt or re-valved tell ‘em you know a guy. This one cost $420 with a spring. The next one will have to included the price of the seal head, about $30 more.
Snake
Spools
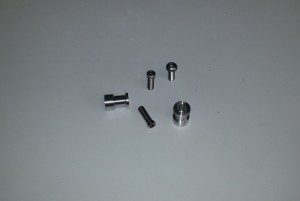
Fischer’s don’t come with rear stand spools but they do come with mounts so I just needed to make some spools. The MRX is heaver than the SV’s it will race against so I want my spools to be light. Note the trimmed bolt head and the drilled out center saving 3 grams from the normal bolt on the right.
I recessed the bolts far into the spools so I could use shorter bolts and so the spool will protect the head of the bolt in a crash. It’s hard to remove bolts that are damaged.
Total weight is 38 grams for both. This is un-sprung weight so I want as little as possible. They look good too.
Wave
Do you guys remember Particle? She is the first of two Fischer MRX’s that I’m building for two clients. Particle won her first ever race and is now living in Napa, CA.
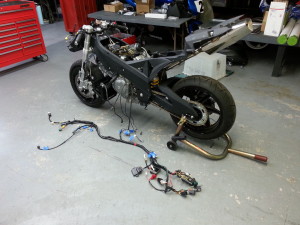
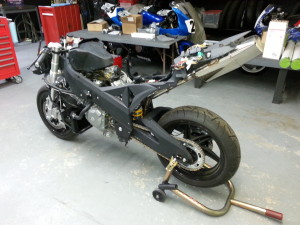
Meet Wave. Get it? Particle & Wave, you know like light? If you don’t know, look it up or move along. Fischer MRX #2. We had race body work molds made when we did Particle so the painted body work is waiting for Wave. Now to turn her into a race/track day bike. Check out my next post to see how I got this far…
Soaring thru corners!
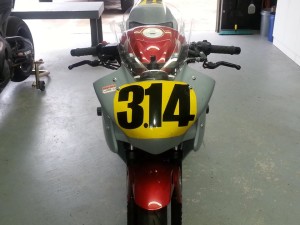
Jessica teaches math. Can you tell? Yesterday was Pi day so this post is late.
Her bike was here for my fork mods, stronger springs and re-valving. After 3 track days in 4 days she had this to say:
MG’s Words
My friend and fellow racer Michael, a guy who spends more time thinking about motorcycle road racing than most people spend time breathing, has written an essay outlining his objections to spec electronics in Grand Prix motorcycle racing. As always, his views do not necessarily reflect the views of this station or its management. But they are at least thought-out and well-articulated. You can read his post here: http://mcspeedfactory.blogspot.com/
Like everything on his blog, the above was written by MG. Enjoy.
Well put, Martin
“Hello Ed,
Go ahead and reach over your shoulder and give yourself a pat on the back. The rebuilt shock now sprung properly works like a dream. Jaw dropping and truly awesome. My GS went from baby buggy to guided missile. I put the bike through all its paces, drove it hard and fast and performance is truly enhanced. Gone is the springy all over-the-place ride now replaced with a sharp, firm and decisive ride. I now can break hard in the turns without the rear wheel moving sideways. It’s now planted and the bike goes exactly where and when I want it to. What I thought was too much clearance above ground causing a poor ride was all suspension. The bike now steers with the hips, and follows my inside knee. I can lean over confidently and find myself in a taller gear moving faster and still with plenty of comfort. Job well done! Many thanks. I also like the color of the aftermarket spring. I am 100% satisfied.”
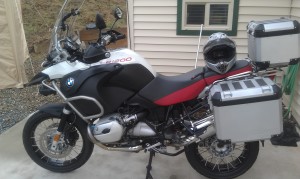
I rebuilt Martin’s BMW GS rear shock and gave it a stronger spring. I think he’s happy. I think I may have to turn From Baby Buggy to Guided Missile into a slogan.
Damper Rod Forks
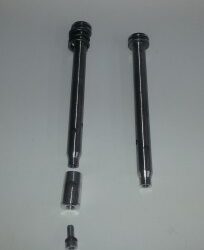
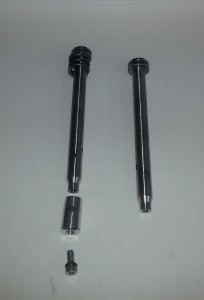
On the right we have a damper rod. The 4 big holes near the bottom control compression and the two small holes near the top control rebound. The oil flows inside the rod and through the holes. The size of the holes and the weight of the fork oil determine the amount of damping.
I change the damping by welding the holes closed and drilling different size holes. I like to adjust the hole size to work with 15 weight oil so you can fine tune the damping with 10 weight for less damping or 20 weight for more damping.
On the left I have added the top out spring at the top of the rod. It cushions the blow when the forks extended all the way. The wide part at the top of the rod can’t pass the bottom of the fork tube. This is what keeps the fork from falling off the end of the tube.
The bolt comes up through the bottom of the fork leg and holds the leg to the damping rod. The spacer fits over the end of the rod and is cone shaped. It uses fork oil to damp out bottoming.

